Hulam for Celesta
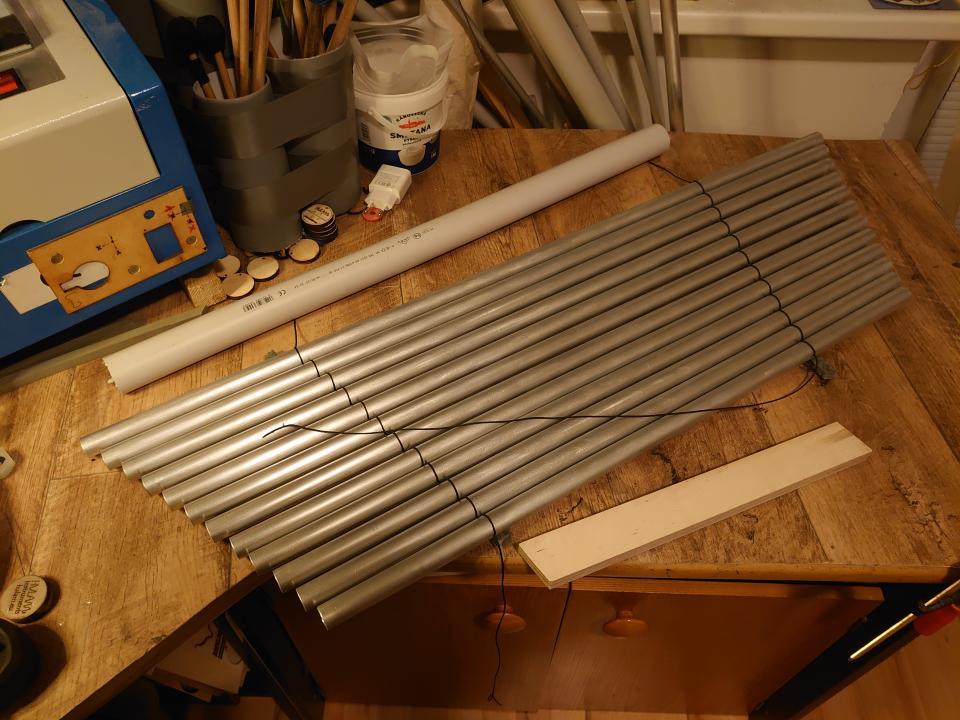
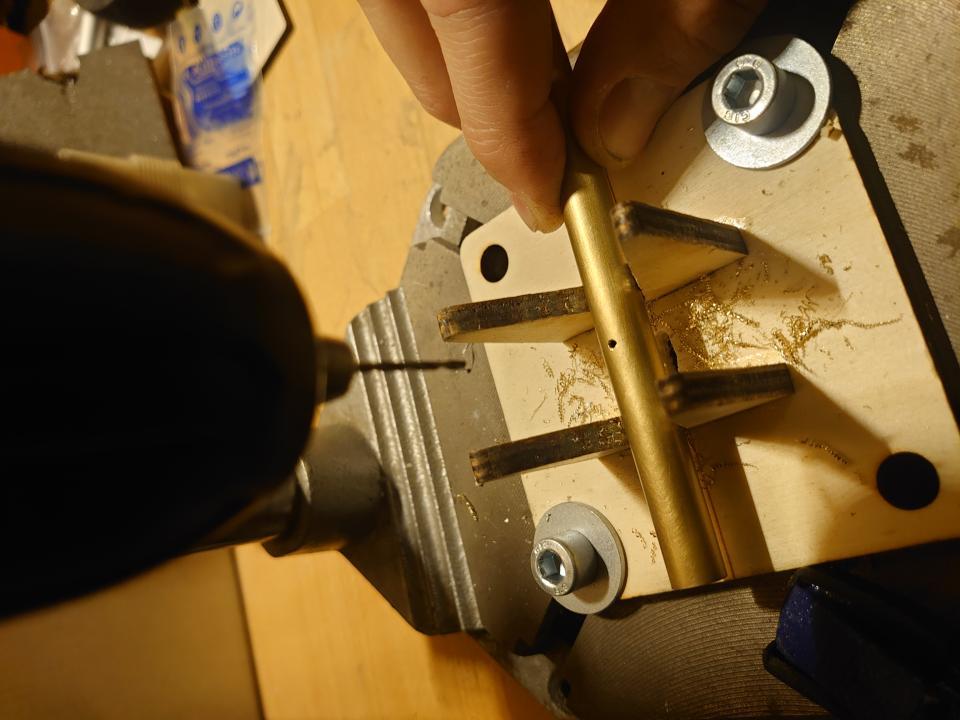
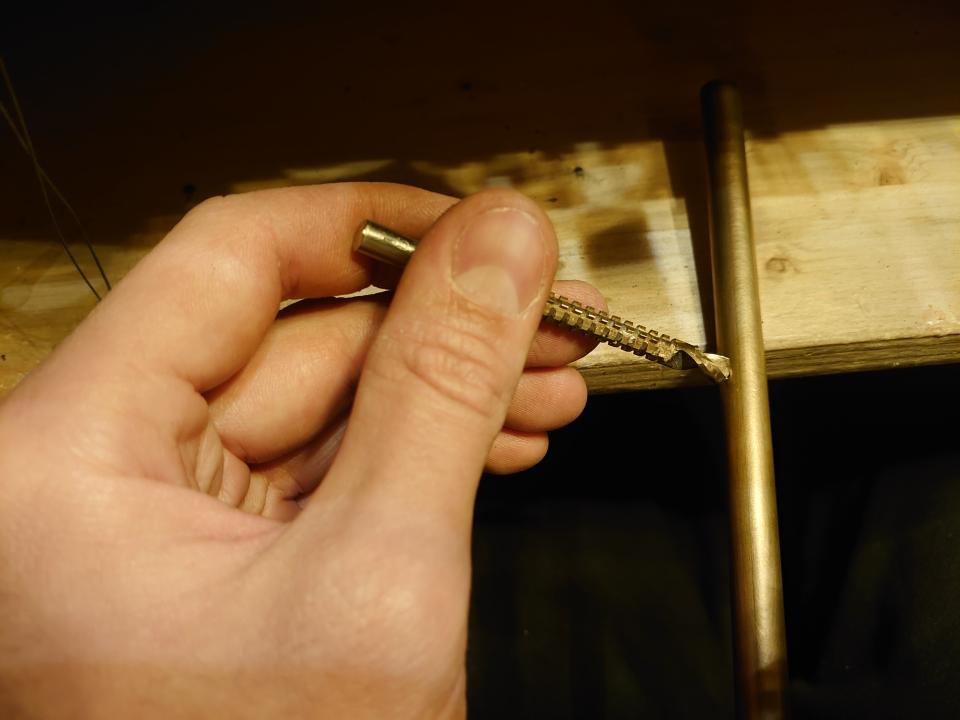
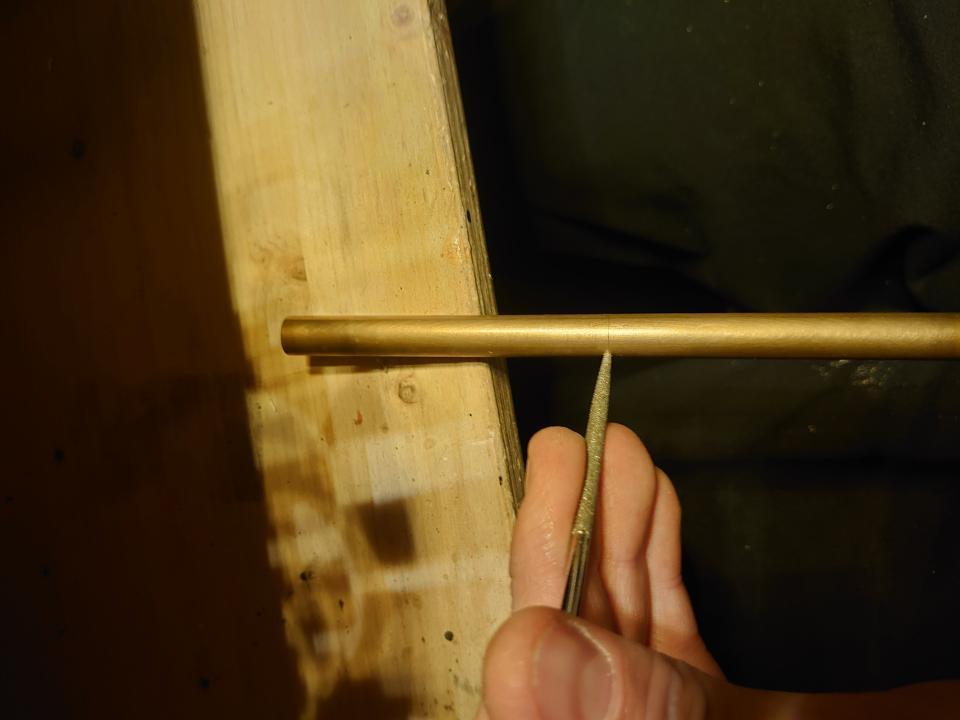
The second very important part of the instrument is the sound source. In our case, these are the Hulam pipes. I don’t write the articles in the order the individual parts were created – in fact, Hulam came first. I needed to check whether the individual tones would even be audible and, at the same time, determine a usable range. Originally, I experimented with aluminum pipes, but they didn’t have a long enough sustain, so brass came into play. That was a whole different story – I’m still fascinated by the endless resonance of brass tones.
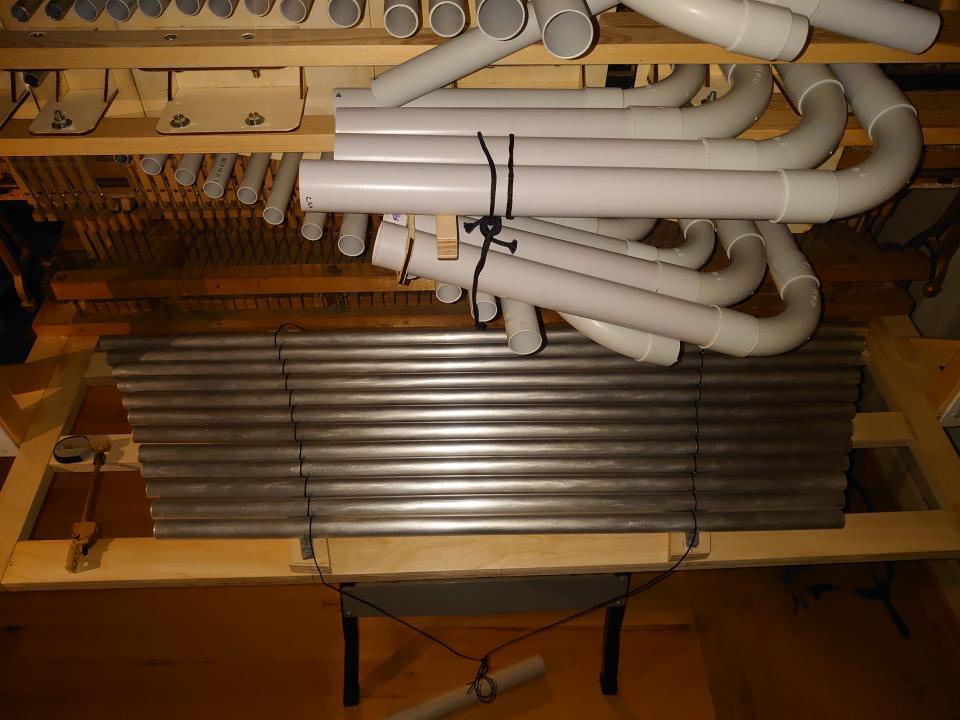
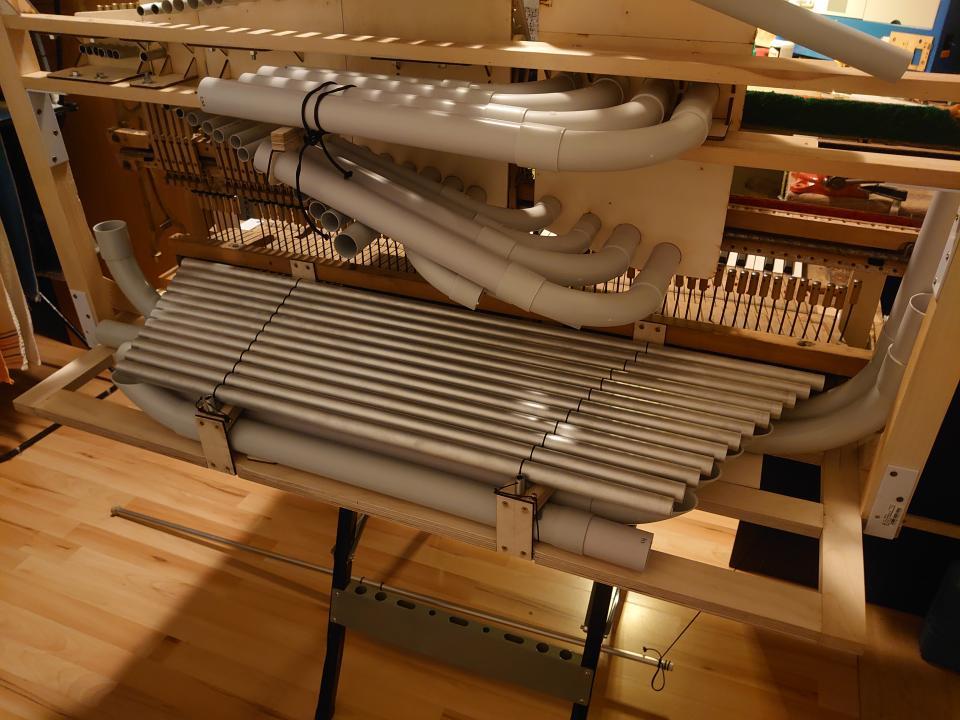
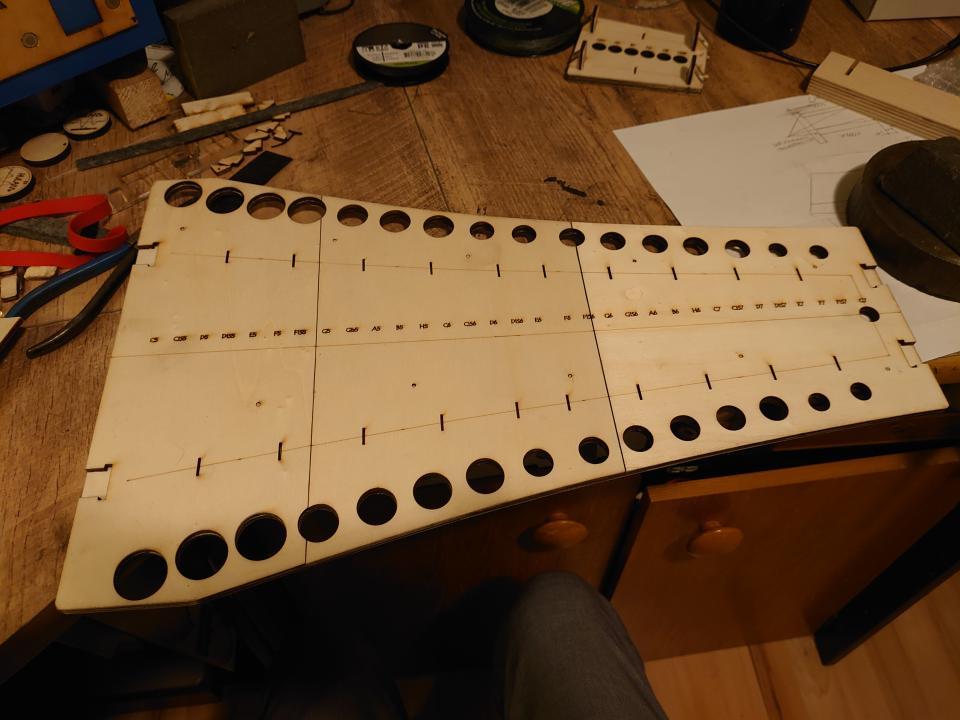
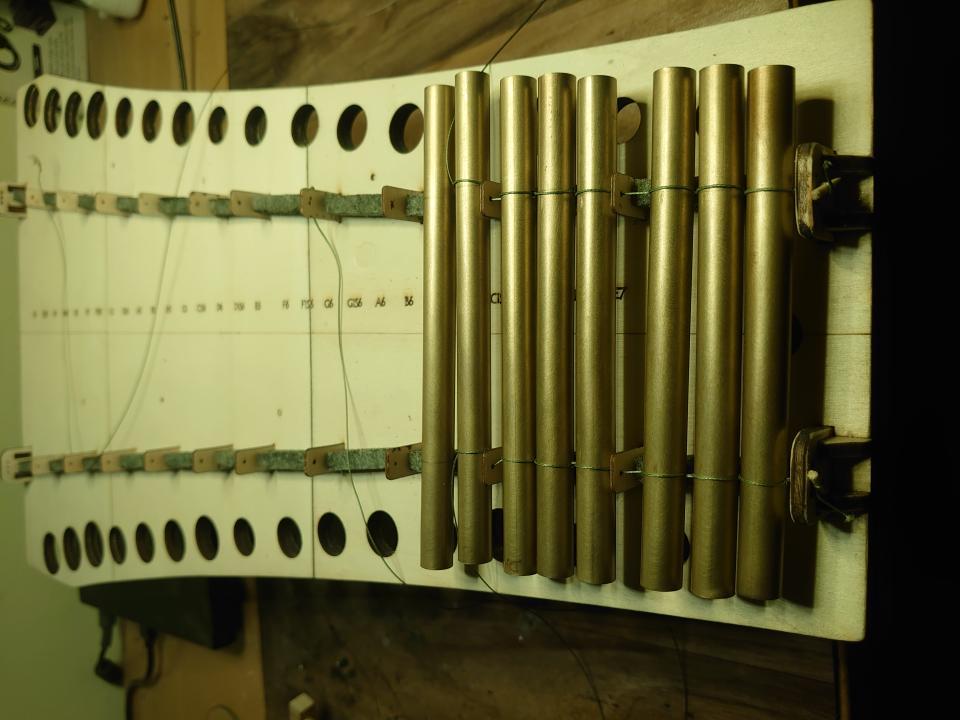
Another thing I had to change compared to the Hulam, which I usually make, was the arrangement of the tones and resonators. The resonators have a larger diameter than the pipes, so it was necessary to choose dimensions that would allow the individual tones to fit next to each other. I tested these proportions on the piano we have at home. All of this happened before I found a donor, so I first determined the maximum possible diameter of the brass tone pipe, compared it with available sizes, and chose the right solution accordingly.
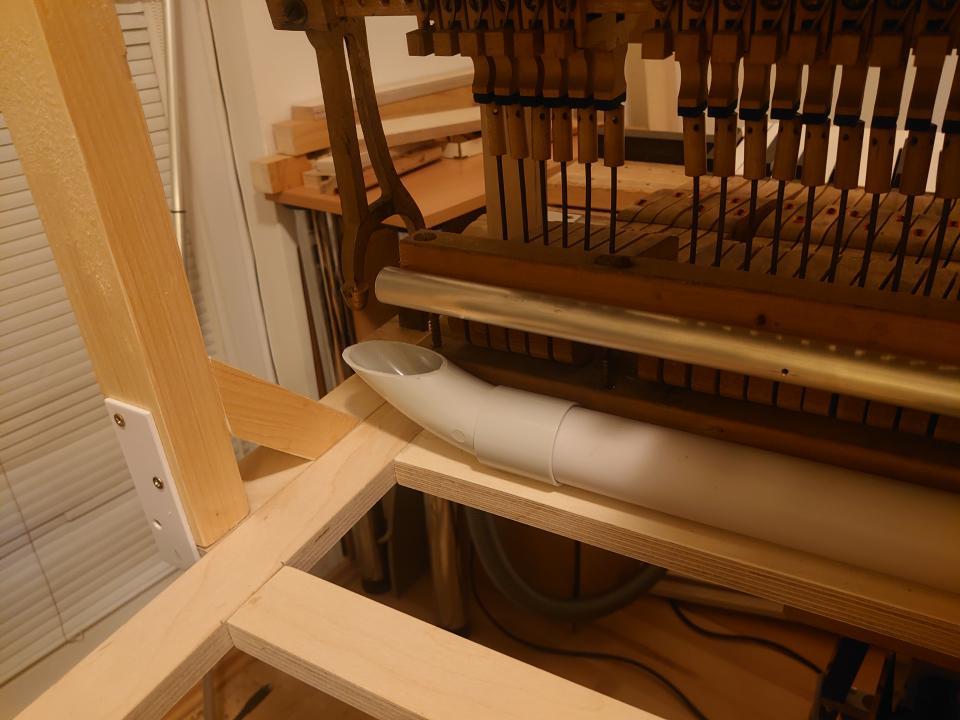
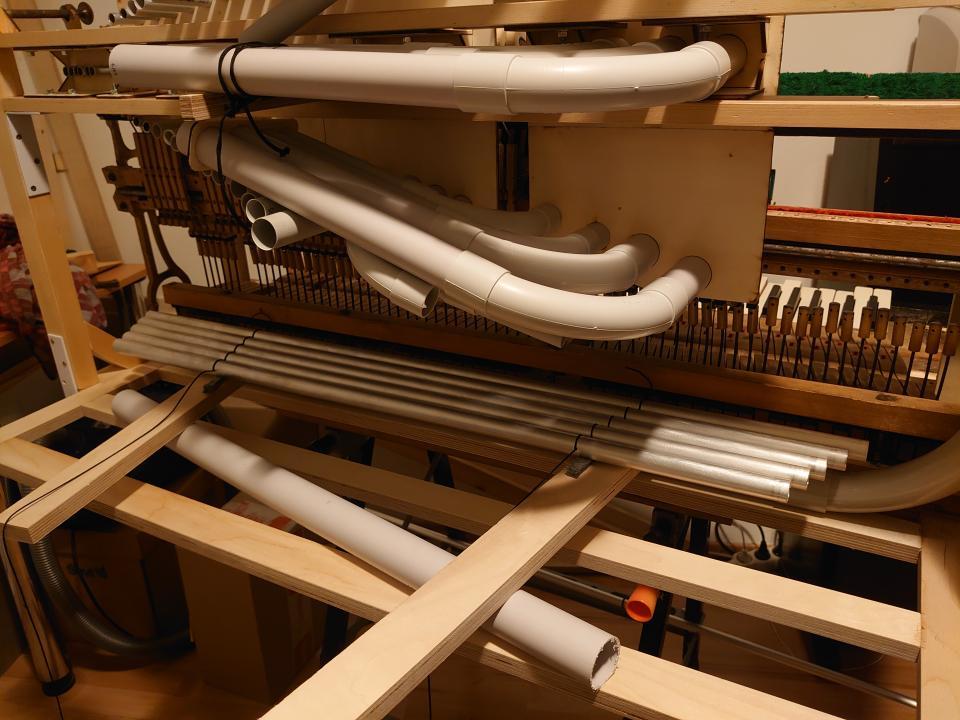
Since the resonators have a larger diameter and couldn’t fit side by side, I had to position them perpendicular to the tones and alternately.
A resonator is a tube tuned to exactly the same frequency as the brass tone. This allows it to amplify the tone through a phenomenon called resonance, which is where its name comes from – resonator. The deeper the tone, the longer the resonator.
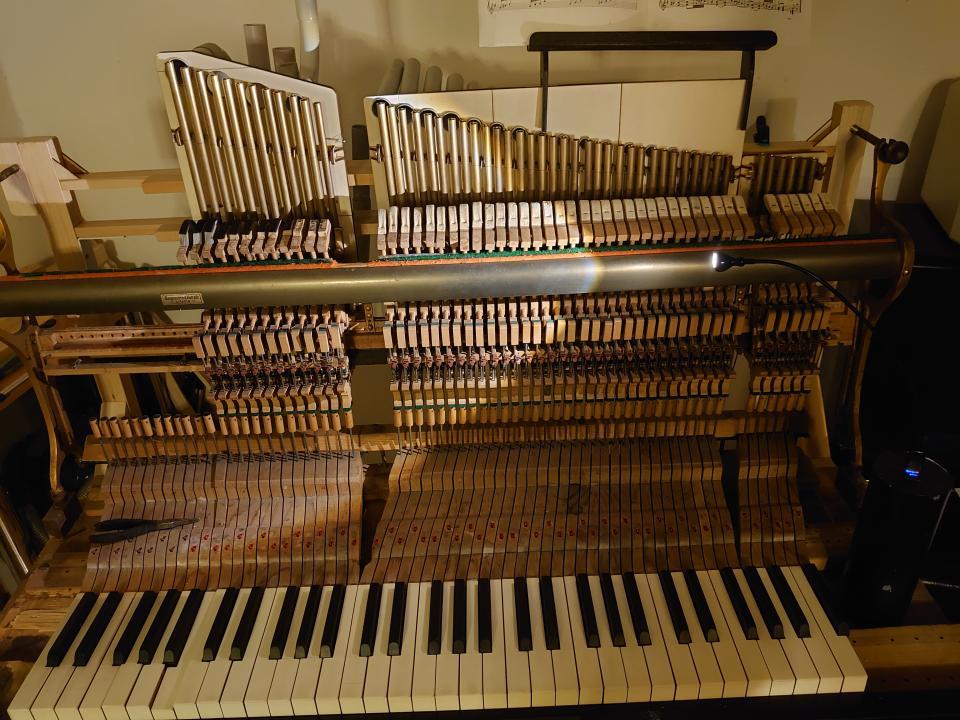
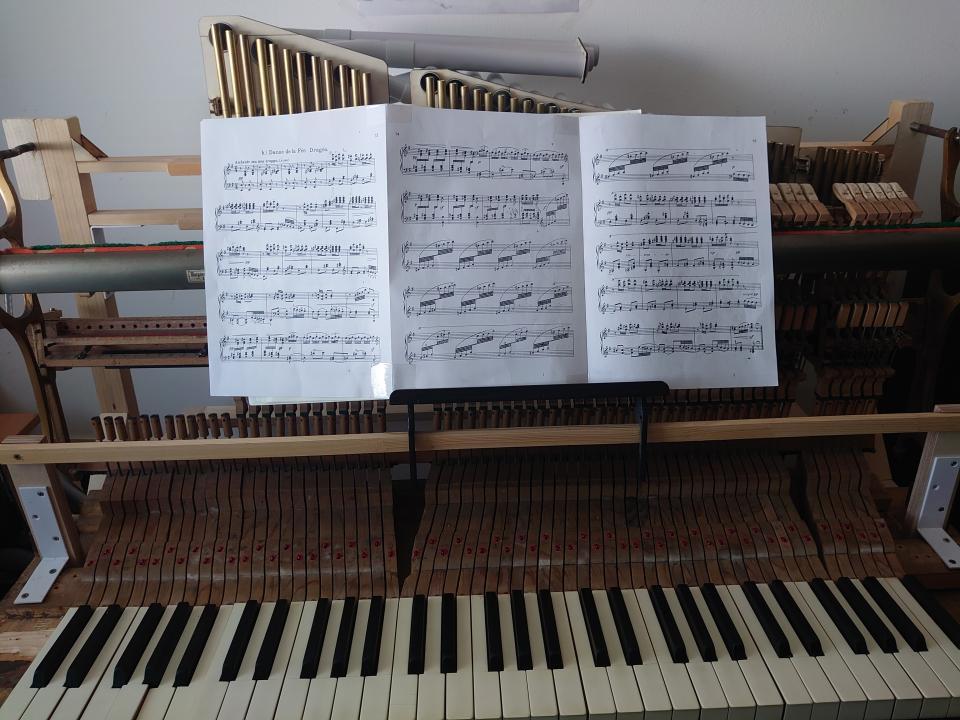
What sets the Hulam celesta apart from other celestas is its unique use of open resonators and tubular tones without any additional modifications. Standard celestas typically use metal plates for the tones and closed resonators. Moreover, the plates are often fitted with weights to artificially lower the pitch while keeping the original size.
I avoided this, which allows me to achieve a very long sustain.
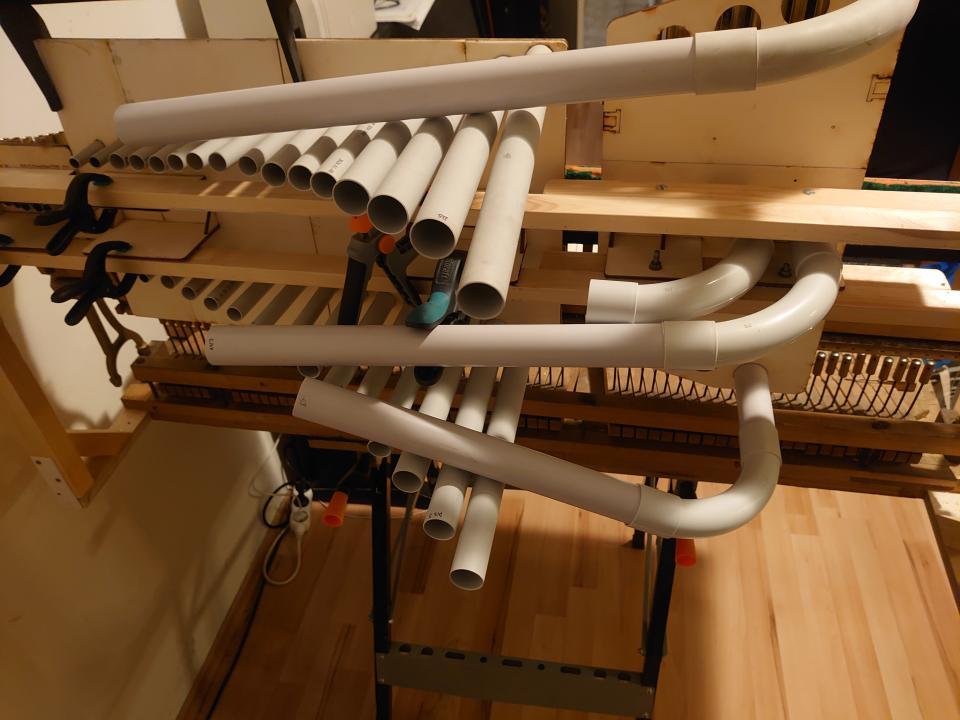

The bass tones—the lowest, fifth octave—were a special category. I deliberately left them for last, because until the very end I didn’t know if or how I would assemble them. In any case, I knew I wanted them in the instrument.
I started by testing the tones. I used aluminum pipes, the same ones I usually use for Hulam tones. Brass tones would have been three times heavier, and at this size, even aluminum had a good sustain.
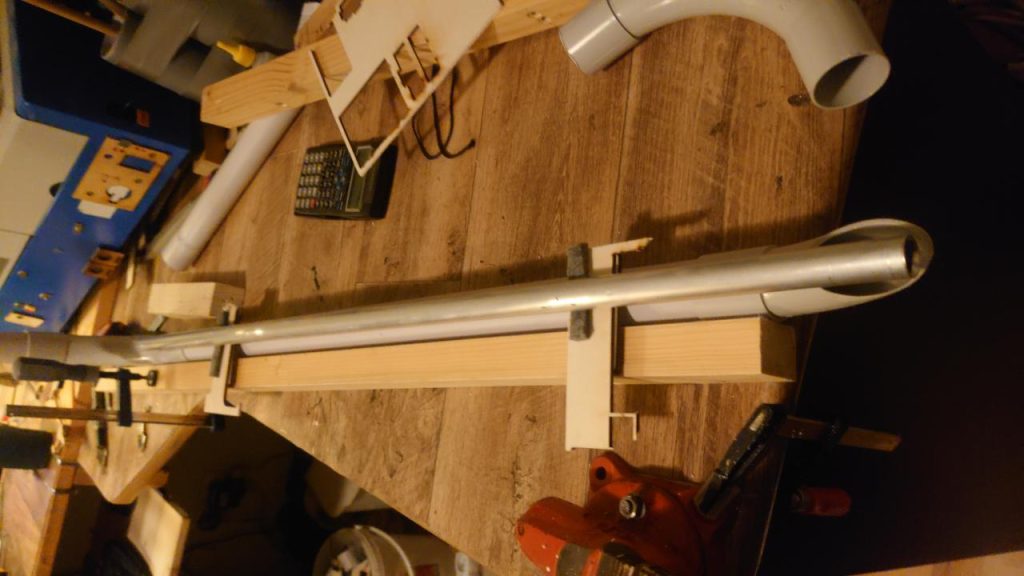
These tones, of course, could no longer fit side by side above the keys like the other octaves, so I had to come up with a more original solution.